
Electrical Board Case
About the Customer
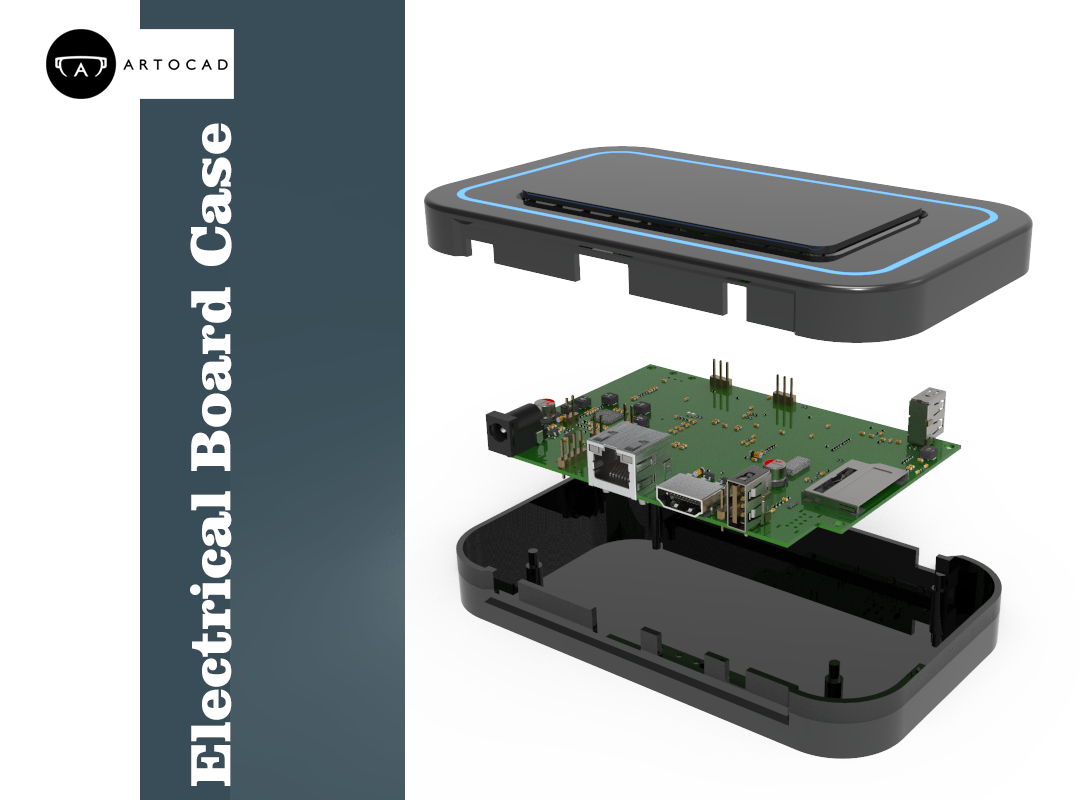
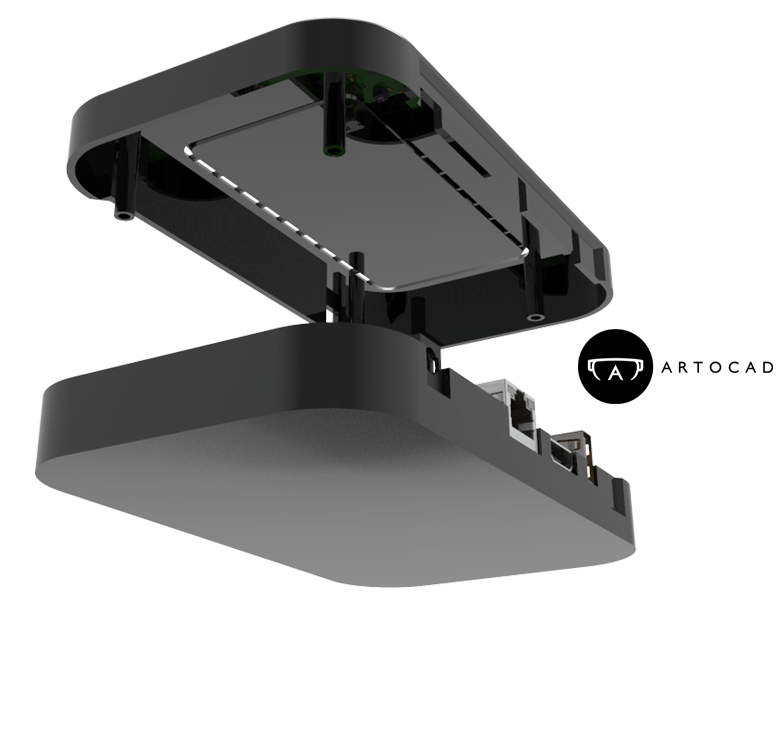
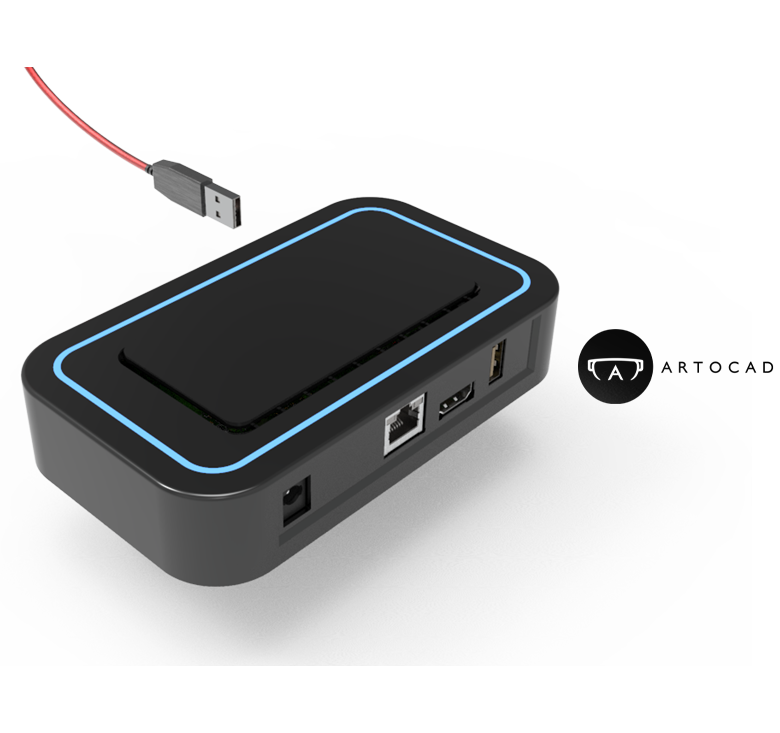
An electronic board developer needed to complete a product to achieve a final product. This final product should have been able to attract investors. Due to his limited budget, this customer needed to create a special case for the board he had developed with the help of 3D printing. Also, due to the variable costs of 3D printing materials, the design should be such that it can be printed with both FDM and SLA materials.
Customer’s Needs:
The first thing that needed to be carefully considered in the case design in this project was the clearance of the case body and the components installed on the board. Because this value is different in different materials, and in order for the accuracy of the final work to be high, it was necessary to make a test sample.
Step 1:
Hold an initial meeting to review customer needs.Step 2:
Download the designed board file with the parts attached to it and convert it to STP format.Step 3:
Check the design clearance in both FTM and SLA materials and apply it to the points where the case body is installed at the shortest distance from the body of the parts.Step 4:
Holding an approval meeting to receive customer feedback on the final design.Step 5:
Delivery of design file in STL format for presentation to 3D printing centers.


In this project, it was very important for me to be able to get the best out of the product design with the limited budget I had. And outsourcing this design to a group outside of my country and holding online meetings to modify the design and achieve a comprehensive design of the challenges were the implementation of this project. When I was about to receive the case, I was very worried that the two parts would not be assembled. But after seeing the result, I was very surprised.